


How to Pack Photos for Moving: Protecting Irreplaceable Memories the Right Way
How to Pack Photos for Moving: The Archive-Safe Method That Preserves Your Memories
Here's a scenario that happens more often than you'd think: Someone moves, carefully packs everything, arrives at their new home, and discovers their box of family photos got crushed under a box of books. Decades of memories—grandparents' wedding photos, baby pictures, that irreplaceable snapshot of three generations together—now creased, torn, or water-damaged from a leaking plant box stacked on top.
Photos are literally the only things in your home that can't be replaced. Your TV? Amazon delivers a new one tomorrow. Your couch? Buy another. But that picture of your grandmother holding you as a baby? That exists nowhere else in the universe.
That's why learning how to pack photos for moving isn't just about bubble wrap and boxes—it's about understanding that these fragile pieces of paper hold your entire family history. And they deserve packing methods that match their irreplaceable value.
Let me walk you through exactly how to protect your memories, whether you're dealing with loose photos, albums, or entire collections spanning generations.
The Biggest Mistakes People Make When Packing Photos

Before we get into the right methods, let's talk about what NOT to do—because I've seen all of these disasters firsthand:
The Rubber Band Catastrophe: Bundling loose photos with rubber bands seems organized until those rubber bands deteriorate, stick to photos, and leave permanent residue or damage. Rubber bands are the enemy of photographs.
The Ziplock Bag Trap: Storing photos in plastic bags (especially in humid conditions or during summer moves) creates condensation that can cause photos to stick together or develop mold. Not all plastic is archive-safe.
The Mixed Box Disaster: Throwing photo albums in boxes with books, kitchen items, or other heavy objects. Photos and albums need dedicated, clearly-marked boxes that nothing gets stacked on.
The Basement Storage Mistake: Packing photos and then storing moving boxes in garages, basements, or storage units with temperature fluctuations and humidity. Photos are sensitive to environmental conditions.
The "I'll Digitize Later" Delay: Planning to scan everything someday but never actually doing it before the move. Then something happens during the move, and those photos are gone forever.
The good news? Once you know the right way to pack photos, it's not complicated—it just requires the right materials and a little extra care.
Why Your Photos Need Special Treatment
Unlike how to pack pictures for moving in frames (where glass is the main concern), loose photos face different threats:
Physical damage: Creasing, tearing, bending from improper support
Chemical damage: Acidic materials degrading photo paper over time
Environmental damage: Humidity, temperature extremes, moisture exposure
Pressure damage: Heavy items crushing delicate photo paper
Light exposure: Fading from direct sunlight during packing/unpacking
Professional archivists and chicago packing services specialists use acid-free, archive-safe materials specifically designed to prevent these issues. And you should too.
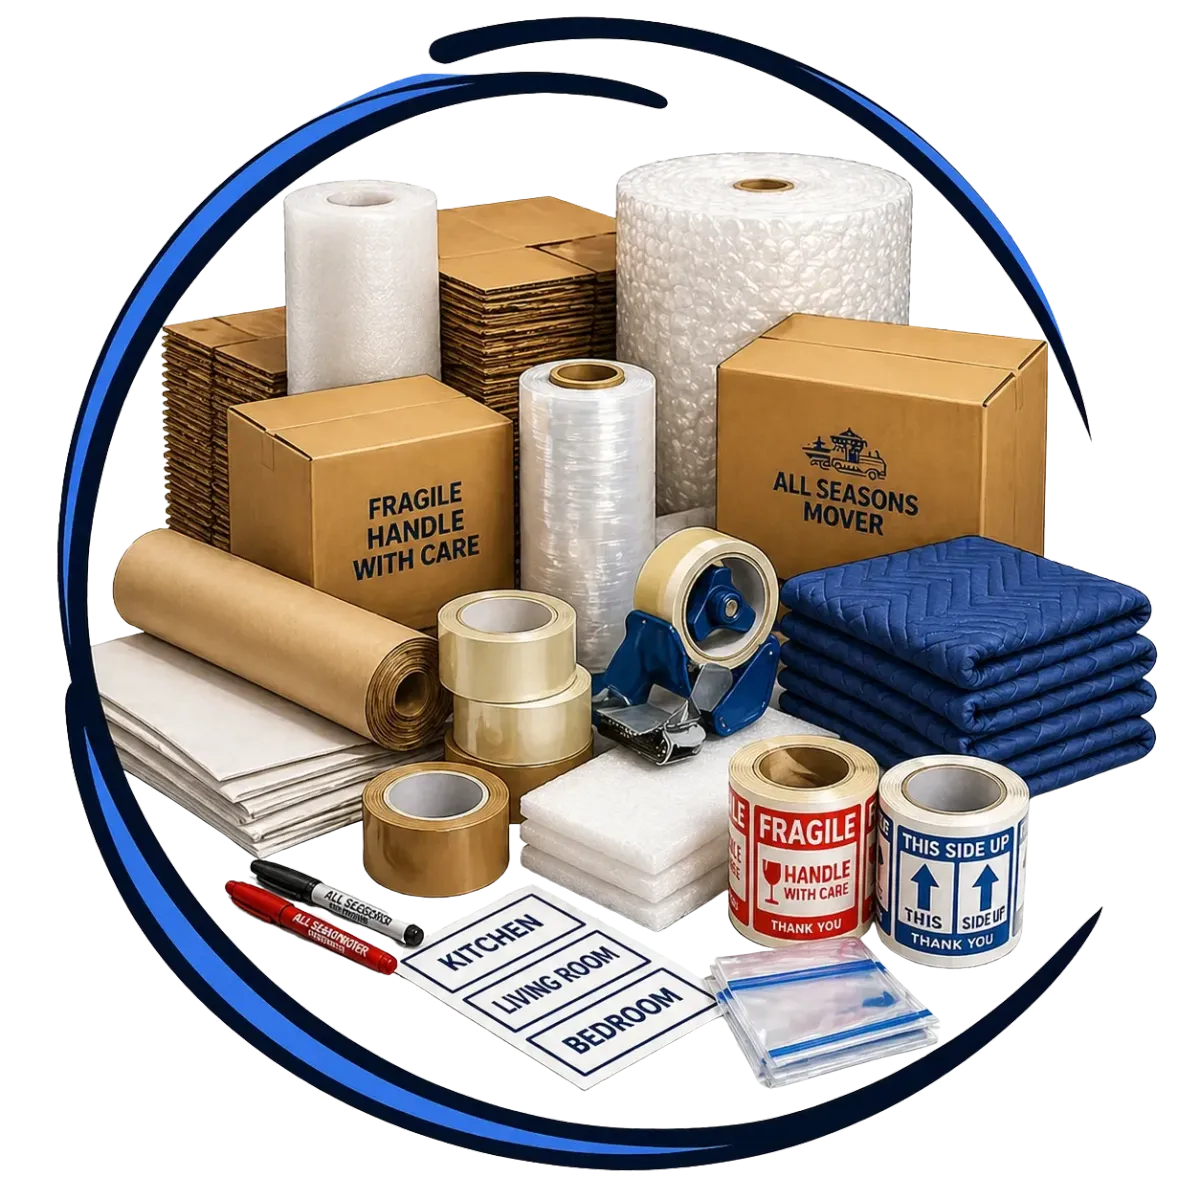
The Essential Supplies for Packing Photos Properly
Here's what you need to pack photos the way museums and archives do it:
Archive-Safe Materials (Non-Negotiable)
Acid-free tissue paper: Regular tissue paper contains acids that degrade photos over time. Archive-safe tissue is pH-neutral.
Archival photo boxes: These aren't regular cardboard boxes. They're made from acid-free materials designed for long-term photo storage.
Photo sleeves or archival bags: Polyethylene or polypropylene sleeves (never PVC, which emits harmful chemicals).
Acid-free cardboard dividers: For organizing and separating photos within boxes.
Rigid cardboard sheets: For supporting stacks of photos and preventing bending.
Additional Packing Materials
Bubble wrap (for the outer boxes, NOT touching photos directly): Protects boxes during transport.
Moving boxes (small to medium size): Photos are heavy when grouped together—small boxes prevent overweight loads.
Packing tape: Heavy-duty tape for sealing boxes securely.
Labels and markers: Clear identification prevents boxes from being mishandled.
Climate-controlled storage bags: For moves spanning multiple days or during extreme weather.
Pro tip: You can find archival supplies at photography stores, art supply stores, or online from companies like Gaylord Archival or Hollinger Metal Edge. Don't skip this investment—regular craft store materials aren't archive-safe.
Step-by-Step Guide to Packing Loose Photos
Here's the professional method for how to pack photos for moving when dealing with loose photographs:
Step 1 - Sort and Organize First
Before packing anything, sort your photos:
By time period: Decades, years, or events
By family member or subject: Makes finding specific photos easier later
By size: Group similar sizes together for easier packing
Set aside damaged photos: These may need special handling or restoration before moving
This is also the perfect time to identify which photos you want to scan before packing (more on that later).
Step 2 - Create Photo Bundles
For loose photos, create stable bundles:
Stack photos face-up in groups of no more than 25-30 photos (roughly 1-inch thick)
Place acid-free tissue paper between every 10 photos for additional protection
Add rigid cardboard sheets on the top and bottom of each stack
Secure with acid-free paper bands or place in archival sleeves (NEVER use rubber bands or regular tape directly on photos)
The goal is to create rigid, stable bundles that prevent photos from shifting, bending, or rubbing against each other.
Step 3 - Pack Bundles in Archive Boxes
Now place your photo bundles in archival boxes:
Stand bundles vertically (like files in a filing cabinet), never lay them flat with weight on top
Use acid-free dividers to separate different groups or time periods
Fill empty spaces with crumpled acid-free tissue paper—photos shouldn't shift when you tilt the box
Don't overfill: Leave at least 1 inch of space at the top so the box can close without pressuring photos
Weight check: If you can't comfortably lift the box, it's too heavy. Redistribute photos into more boxes. Heavy boxes invite rough handling and increase damage risk.
Step 4 - Protect Archive Boxes for Transit
Your archive boxes need protection during the move:
Place archive boxes inside larger moving boxes with bubble wrap cushioning on all sides (at least 2 inches)
Never place anything on top of boxes containing photos
Mark all six sides with "FRAGILE - PHOTOS - DO NOT STACK"
Add "THIS SIDE UP" arrows on all relevant sides
Consider waterproof protection: Place archive boxes inside large garbage bags before putting them in moving boxes if there's any chance of weather exposure
How to Pack Photo Albums Without Ruining Them
Photo albums present unique challenges because of their size, weight, and binding:
For Traditional Bound Albums
Preparation:
Check for loose photos and secure them (archival corners or photo-safe adhesive)
If pages are stick-together style, place acid-free tissue between sticky pages that aren't full
Close albums completely and secure with acid-free paper bands if covers tend to open
Packing Method:
Wrap each album individually in acid-free tissue paper or clean cotton sheets
Place albums spine-down in appropriately-sized boxes (albums should fit with minimal shifting)
Never pack albums face-down—the weight can damage photos
Use crumpled packing paper to fill gaps and prevent movement
Limit to 2-3 large albums per box to keep weight manageable
For Modern Photo Books and Digital Print Albums
These hardcover photo books (Shutterfly, Mixbook, etc.) are more durable but still need care:
Wrap in bubble wrap or packing paper
Can be packed slightly more densely than traditional albums
Still mark boxes as fragile and don't stack heavy items on top
For Scrapbooks with Embellishments
Scrapbooks with ribbons, stickers, and 3D elements need extra space:
Never stack scrapbooks—pack them individually or with significant padding between
Use boxes that allow 2-3 inches of clearance around scrapbooks
Fill empty space with soft packing material (bubble wrap, packing peanuts)
These are prime candidates for "transport in your personal vehicle" rather than the moving truck
The Digital Backup Strategy Every Mover Needs
Here's the truth: no matter how carefully you pack, there's always a risk during moves. The smartest thing you can do when learning how to pack photos for moving is to create digital backups BEFORE packing anything.
Quick Digitization Methods
For Loose Photos:
Photo scanning apps: Google PhotoScan, Microsoft Lens, or Photomyne use your phone camera to create high-quality scans with glare reduction
Flatbed scanners: Higher quality for important photos (scan at minimum 300 DPI, 600 DPI for photos you might enlarge)
Professional scanning services: Companies like ScanMyPhotos or Legacybox will digitize entire collections (costs vary but worth it for large collections)
For Photo Albums:
Photograph each page with your smartphone (faster than removing photos)
Use good lighting and shoot straight-on
Create folders organized by album for easy reference
Cloud Storage Strategy:
Upload to at least TWO cloud services (Google Photos, iCloud, Dropbox, OneDrive)
Share albums with family members—distributed backup
Download copies to an external hard drive as additional backup
Time Investment: Scanning 500 photos takes 4-6 hours with an app, 8-12 hours with a scanner. Irreplaceable peace of mind? Priceless.
Special Situations That Need Extra Care
Vintage or Antique Photographs
Photos over 50 years old (especially 19th-century photos like tintypes, daguerreotypes, or glass plate negatives) need museum-level care:
Never stack directly on top of each other
Use individual archival sleeves for each photo
Consider professional packing services—seriously, these are historical artifacts
Transport these yourself if possible, not on the moving truck
Consult a photo conservator for extremely valuable or fragile items
Polaroids and Instant Photos
The chemical layers in Polaroids are especially sensitive:
Never bend (the chemicals can separate and create permanent marks)
Store in rigid archival sleeves
Keep away from heat sources during packing and storage
Pack with extra rigid support to prevent any flexing
Photo Negatives and Slides
These deserve their own protection system:
Negatives: Store in archival negative sleeves, pack flat in rigid boxes
Slides: Use slide storage boxes designed to keep them upright
Both: Pack in climate-controlled conditions if possible—temperature extremes damage film
What to Do If You're Moving During Extreme Weather
Weather affects how you should pack photos:
Summer/Hot Weather Moves
Pack photos in the coolest part of the day
Avoid leaving photo boxes in hot vehicles or storage units
Use climate-controlled storage if there's any delay between packing and unpacking
Watch for humidity—use silica gel packets in boxes if moving to humid climates
Winter/Cold Weather Moves
Allow boxes to gradually acclimate to temperature changes (don't bring frozen boxes into warm houses immediately)
Watch for condensation when temperatures change
Protect boxes from snow and moisture with waterproof coverings
Consider transporting photos in your climate-controlled personal vehicle
How to Transport Photos in Your Vehicle vs. Moving Truck
Not all photos need to go on the moving truck. Here's what should travel with you:
Transport in Your Personal Vehicle:
Irreplaceable photos with no negatives or backups
Vintage or antique photographs
Photos with high sentimental value (wedding albums, baby photos, deceased relatives)
Photos you haven't digitized yet
Any photos worth more than $500
Can Go on Moving Truck (if properly packed):
Digitized photo collections with cloud backups
Duplicate photos
Recent photos that could be reprinted
Modern photo books with digital source files still available
Unpacking Photos in Your New Home
You've protected your memories through the move—don't ruin them during unpacking:
Unpack Photos First
Locate photo boxes immediately upon arrival
Don't leave photo boxes in garages or unheated/uncooled areas
Unpack within 24-48 hours to prevent prolonged exposure to storage conditions
Inspect for Damage
Check for moisture, crushing, or environmental damage
Separate any damaged photos for potential professional restoration
If photos got wet, separate them immediately and air-dry flat (don't try to wipe them)
Organize Your New Space
This is the perfect time to:
Create a proper photo storage system in your new home
Continue digitization projects you started
Frame special photos for your new city moving photos wall displays
Organize albums chronologically or thematically
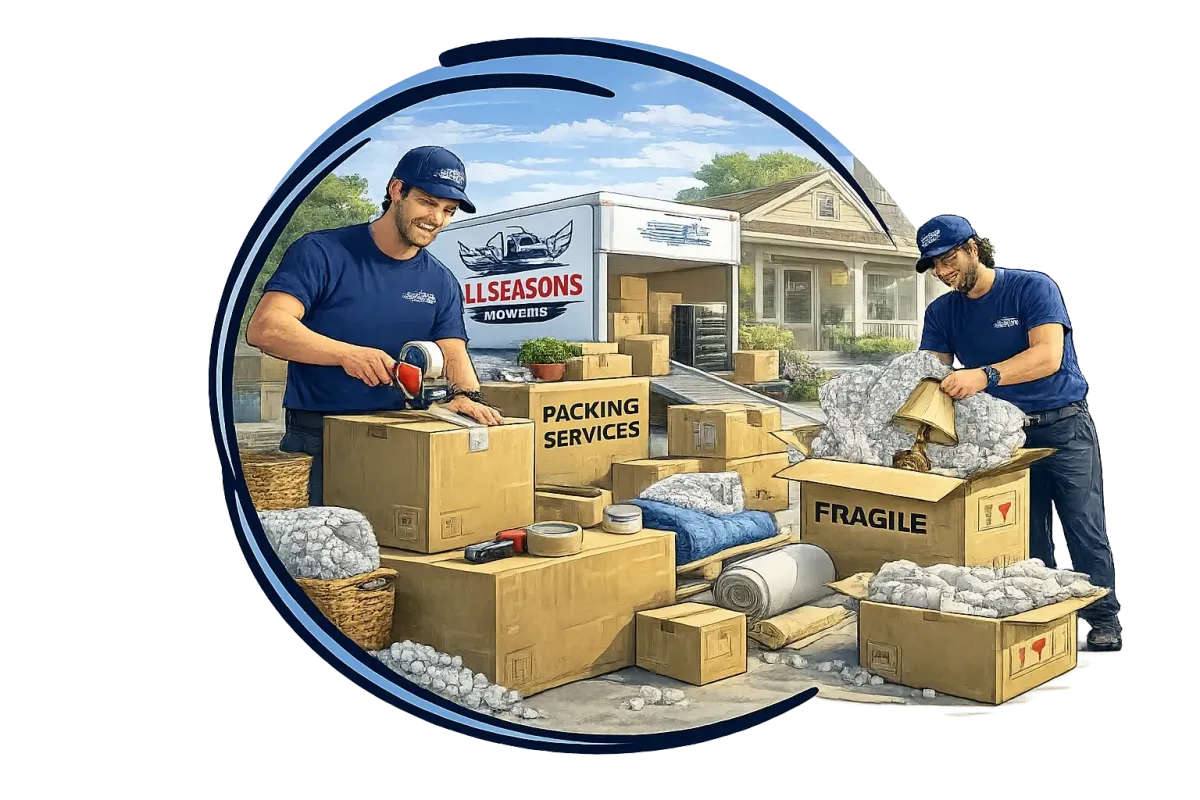
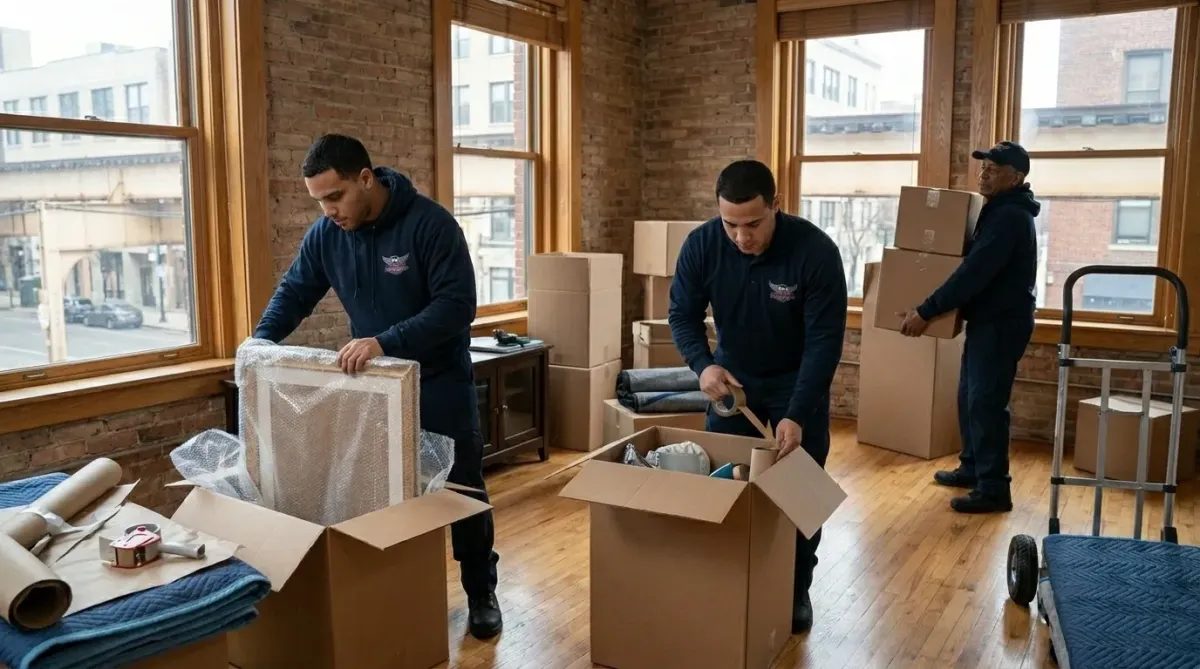
When to Hire Professional Packing Services
Let's be honest about when DIY photo packing isn't the right choice:
Call professionals if:
You have extensive photo collections (1,000+ photos)
Your collection includes vintage or antique photographs
You have valuable historical photos or photo albums
You're moving long-distance and want maximum protection
You simply don't have time to pack properly
The stress of handling irreplaceable memories is overwhelming
Professional chicago packing services have archival-quality materials, climate-controlled transport options, and insurance coverage that covers the full value of your items. The peace of mind alone is worth the investment.
The Real Cost of Packing Photos
Let's break down actual costs for a medium-sized collection (500 photos + 10 albums):
For valuable or extensive collections, professional packing often costs the same or less than high-quality DIY, with significantly better results.