


How to Pack Framed Pictures for Moving: The Pro Method That Actually Protects Your Memories
How to Pack Framed Pictures for Moving Without Turning Them Into a Jigsaw Puzzle

I've seen grown adults cry over shattered picture frames. Not because the frame was expensive (though some are), but because it held their wedding photo, their grandmother's portrait, or their kid's first professional school picture. The frame is replaceable. The cracked glass can be fixed. But that photo? Sometimes it's the only one that exists.
That's why learning how to pack framed pictures for moving correctly isn't just about protecting stuff—it's about protecting memories. And after watching hundreds of moves go right and wrong, I can tell you that most people's packing methods are basically just expensive ways to break glass.
Let me show you how professionals actually do this, so your new city moving photos arrive at your destination exactly as they left—intact, undamaged, and ready to hang on your new walls.
Why Your Current Packing Method Is Probably Wrong
Before we get into the right way, let's talk about the most common mistakes people make when figuring out how to pack pictures for moving:
The good news? The professional method isn't actually that complicated once you know it.
The Supplies You Actually Need (Not the Random Stuff in Your Garage)
Here's what professional chicago packing services use to pack frames properly:
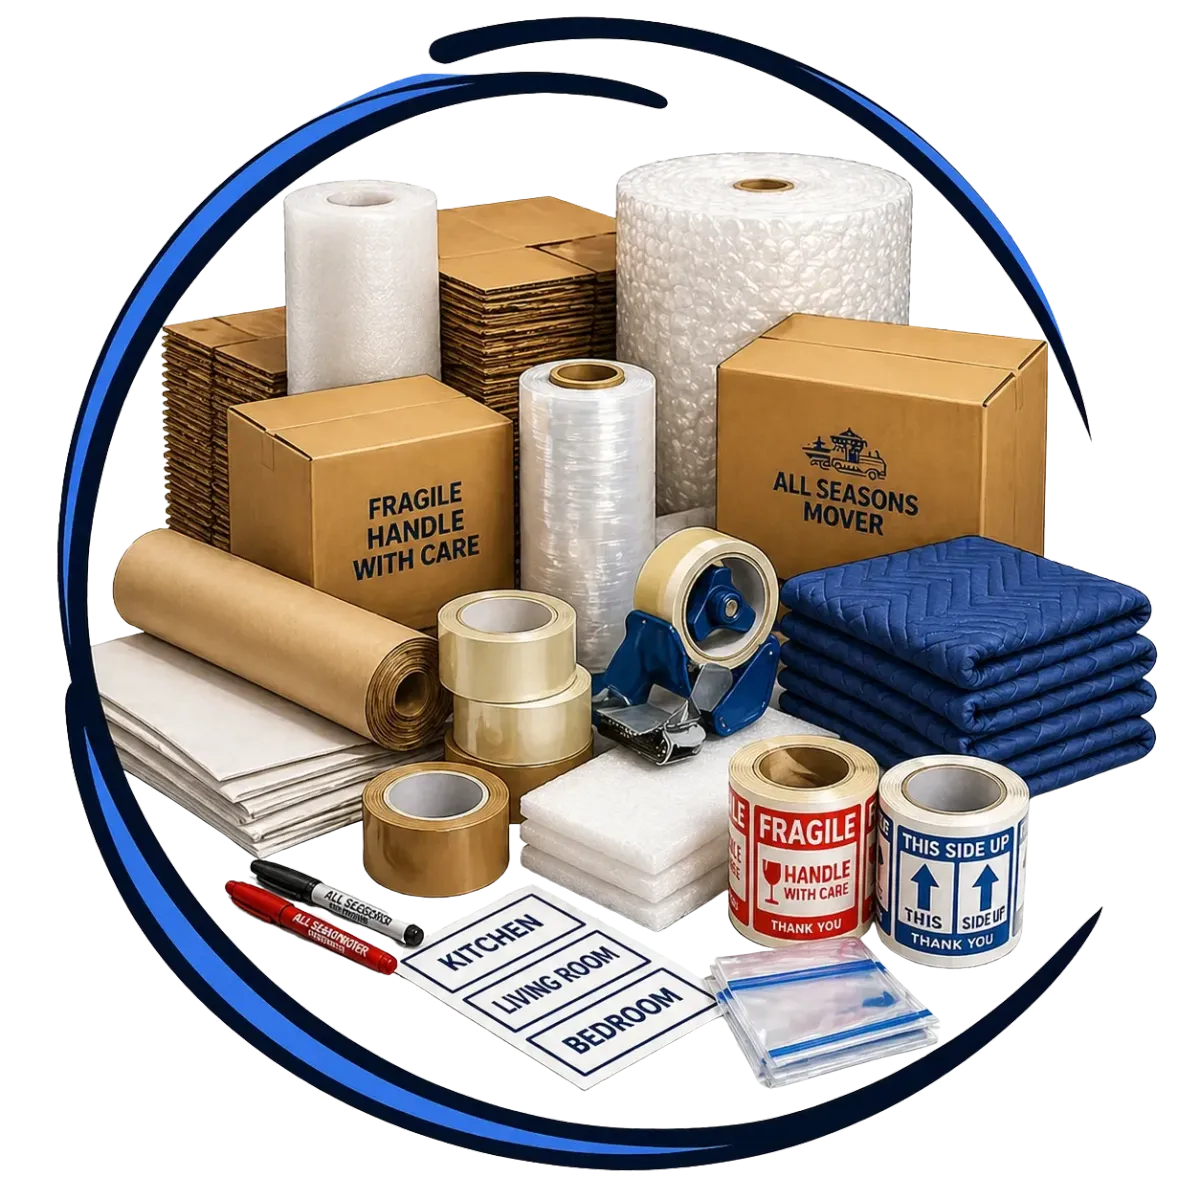
Essential Materials
Picture boxes or mirror cartons: These aren't regular boxes. They're specifically designed with reinforced corners and adjustable sizing for different frame dimensions. Worth every penny.
Glassine paper or newsprint: Protects the glass without leaving residue. Regular newspaper works but can transfer ink to frames.
Bubble wrap (small bubbles): Large-bubble wrap creates gaps. Small bubbles conform better to frame shapes.
Painter's tape: For taping directly on glass without leaving residue. Regular packing tape can damage finishes.
Cardboard corner protectors: The single most important item most people skip. These prevent corner impacts from shattering frames.
Packing tape (2-3 inches wide): The heavy-duty stuff, not the cheap thin tape that splits when you breathe on it.
Foam sheets or blankets: For extra cushioning between multiple frames.
Permanent markers: Label everything. Trust me on this.
If you're thinking "that's a lot of stuff to buy," you're right. This is exactly why many people just hire professionals. But if you're DIYing it, don't cut corners on materials—that's literally where frames break.
The Step-by-Step Professional Method for Packing Framed Pictures
Alright, let's get into the actual how to pack framed pictures for moving process that keeps glass intact and memories safe.

Step 1 - Prepare the Glass Surface
Start with clean, dry glass. Sounds basic, but dust and moisture trapped under tape or paper can cause issues later.
The X-Tape Technique: Using painter's tape, create an "X" across the glass from corner to corner. This serves two purposes:
If the glass does break, the tape holds shards together instead of creating a dangerous mess
It reinforces the glass against flexing during transport
For larger frames (anything over 24x36 inches), add additional tape lines to create a grid pattern. More support equals better protection.

Step 2 - Wrap the Frame Properly
Layer 1 - Glassine Paper: Lay the frame face-down on a clean surface. Cover the entire front with glassine paper or newsprint, securing it with painter's tape around the edges. This protects the glass and frame finish.
Layer 2 - Bubble Wrap: Wrap the entire frame in at least two layers of small-bubble wrap. Start from one corner, wrapping diagonally to ensure complete coverage. The bubbles should face IN toward the frame, not out. Secure with packing tape.
Layer 3 - Corner Protection: Attach cardboard corner protectors to all four corners. These cheap little pieces of cardboard will save you hundreds of dollars in broken frame repairs. Tape them securely so they can't shift during transport.

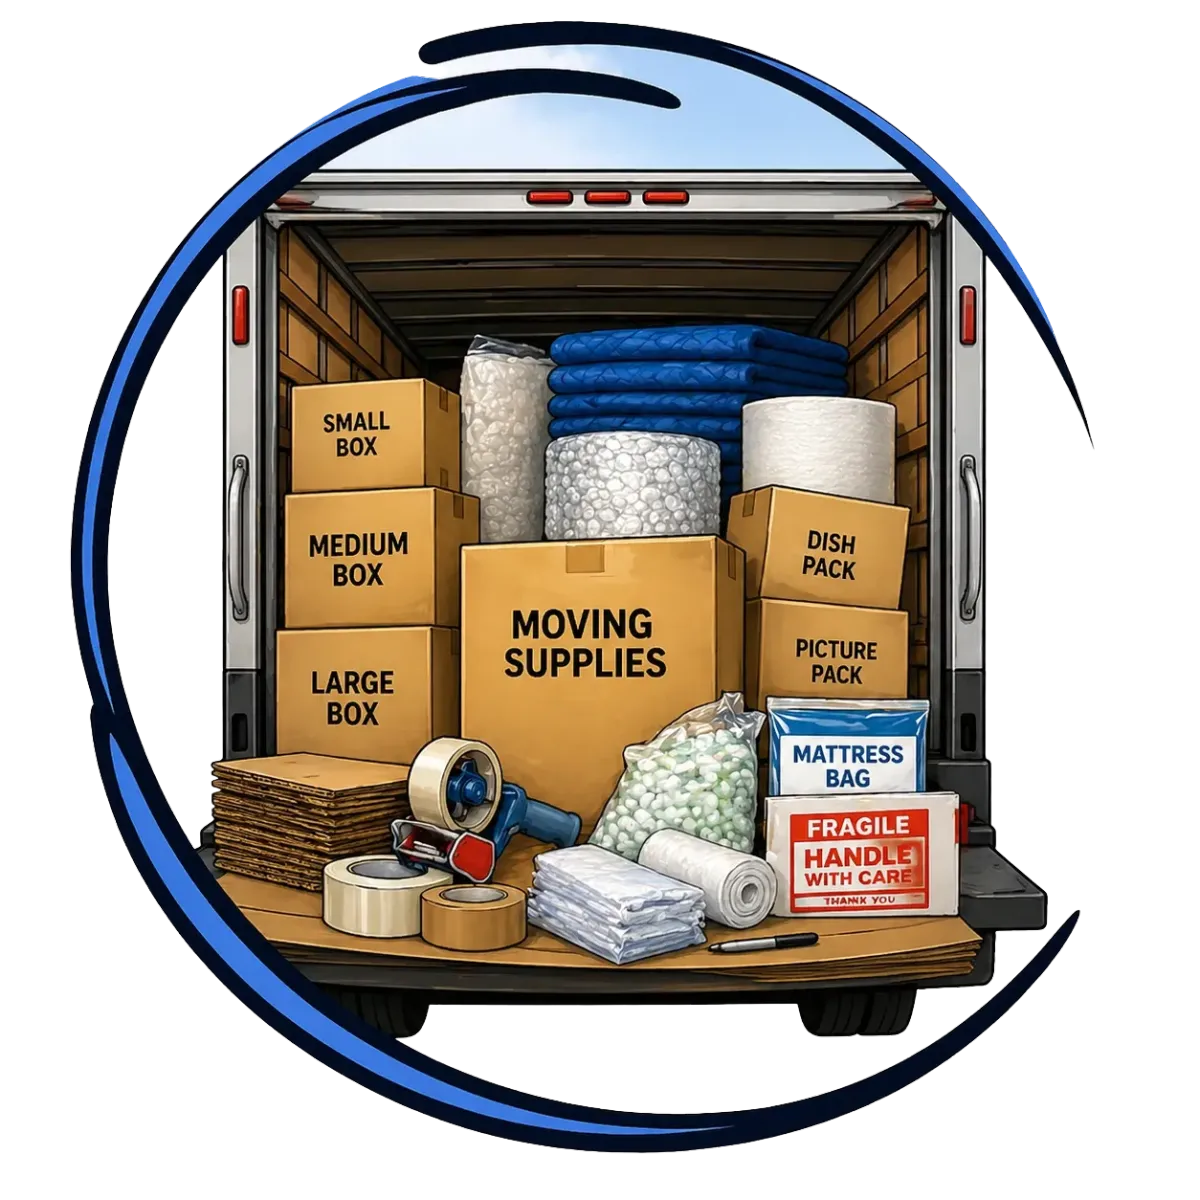
Step 3 - Choose the Right Box
Picture boxes are adjustable—you can customize them to your exact frame size. Here's how:
Measure your wrapped frame (length, width, and now-increased depth from wrapping)
Adjust the picture box to be 2-3 inches larger than your frame on all sides
Line the bottom with crumpled packing paper or foam for cushioning (at least 3 inches)
Pro tip: For oddly-sized frames that don't fit standard picture boxes, create a custom box by cutting down larger boxes and using cardboard to build dividers. It's not pretty, but it works.

Step 4 - Pack Vertically (This Is Critical)
Remember: frames stand UP in boxes, they never lay FLAT. Here's the system:
Position 1: Place your first wrapped frame vertically in the box, standing upright like a book on a shelf.
Position 2: If packing multiple frames together, place a foam sheet or folded blanket between each frame.
Position 3: Fill empty spaces with bubble wrap or packing paper. The frames shouldn't be able to move or shift when you gently shake the box.
The One-Inch Rule: Leave at least one inch of cushioning material between any frame and the box walls on all sides.

Step 5 - Seal and Label Like Your Memories Depend On It
Because they literally do.
Sealing: Use quality packing tape to seal the box. Do the proper H-taping method: one strip down the center seam, then one strip on each side perpendicular to it, forming an "H" pattern. This distributes weight evenly.
Labeling: Write on ALL SIX SIDES of the box (yes, all six):
"FRAGILE - GLASS"
"THIS SIDE UP" with arrows
"FRAMED PICTURES"
The destination room
Your name/contact info
Movers see hundreds of boxes. Make yours impossible to miss or mishandle.
Special Cases That Need Different Techniques
Not all framed pictures are created equal. Here's how to pack pictures for moving when dealing with special situations:
Large Mirrors and Oversized Frames
Anything over 36 inches requires extra care:
Use mirror boxes specifically designed for large glass
Consider custom crating for extremely valuable or oversized pieces (over 48 inches)
Add extra corner protection and double the bubble wrap layers
Mark boxes as "TWO PERSON LIFT" if they exceed 30 pounds
Canvas Prints Without Glass
Canvas is more forgiving than glass, but can still be damaged:
Wrap in glassine paper first to protect the canvas surface
Use bubble wrap, but ensure nothing presses directly into the canvas face
Pack vertically in boxes with plenty of cushioning
Never stack heavy items on boxes containing canvas
Valuable Artwork or Antiques
For pieces worth over $500 or irreplaceable items:
Photograph each piece before packing (helpful for insurance claims if needed)
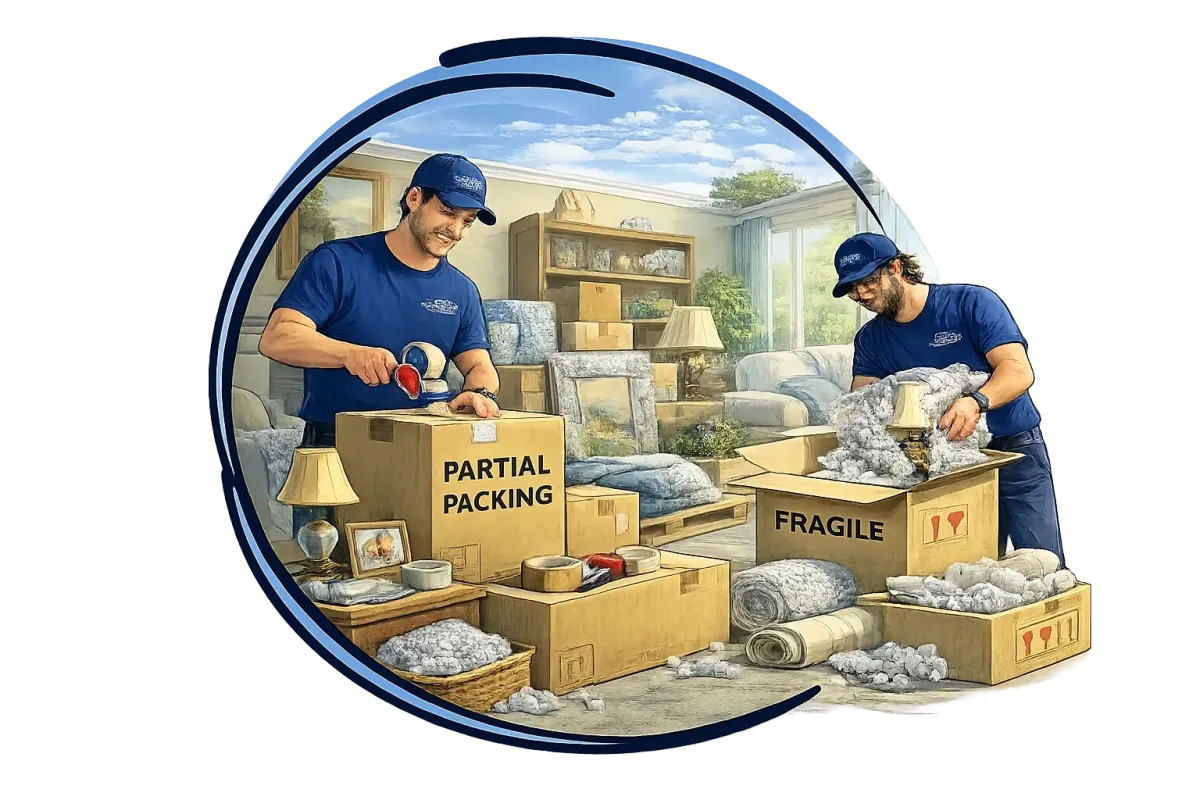
Consider professional packing services—seriously, the peace of mind is worth it
Use custom crating with foam inserts for museum-quality protection
Get separate insurance coverage if your moving insurance won't cover full value
Transport these yourself in your vehicle if possible, rather than on the moving truck
Collections of Small Framed Photos
When packing multiple small frames (4x6, 5x7, 8x10):
Wrap each individually first
Pack similar sizes together in the same box
Use cardboard dividers to create cells (like a wine box) to keep them separated
Fill gaps with bubble wrap to prevent shifting
Common Packing Mistakes That Destroy Frames
Even when people know the basics of how to pack framed pictures for moving, these mistakes still happen:
How to Unpack Framed Pictures Without Undoing All Your Good Work
You packed everything perfectly, the move went smoothly, and now you're ready to unpack. Don't rush this part:
Unpack Slowly: Open boxes carefully, cutting tape rather than ripping it. Aggressive unpacking can damage frames that survived the entire move.
Unwrap Over a Soft Surface: Lay a blanket or towel on the floor and unwrap frames over it. If glass did crack despite your best efforts, this contains the mess.
Inspect Before Hanging: Check each frame for damage before putting it on the wall. Look for:
Cracks in glass or frame corners
Moisture damage to photos or matting
Loosened backing or hardware
Save Packing Materials: If you're moving again within a year, keep those picture boxes and corner protectors. Quality materials are reusable.
When to Just Call in the Professionals
Look, I've given you the complete guide on how to pack framed pictures for moving, but let's be real about when DIY isn't the right choice:
Call professionals if:
You have more than 20 framed pieces
Any single frame is worth over $500
You have original artwork, antiques, or irreplaceable family photos
You're dealing with mirrors larger than 36 inches
You simply don't have the time or physical ability to pack properly
The stress of doing it yourself is taking over your life
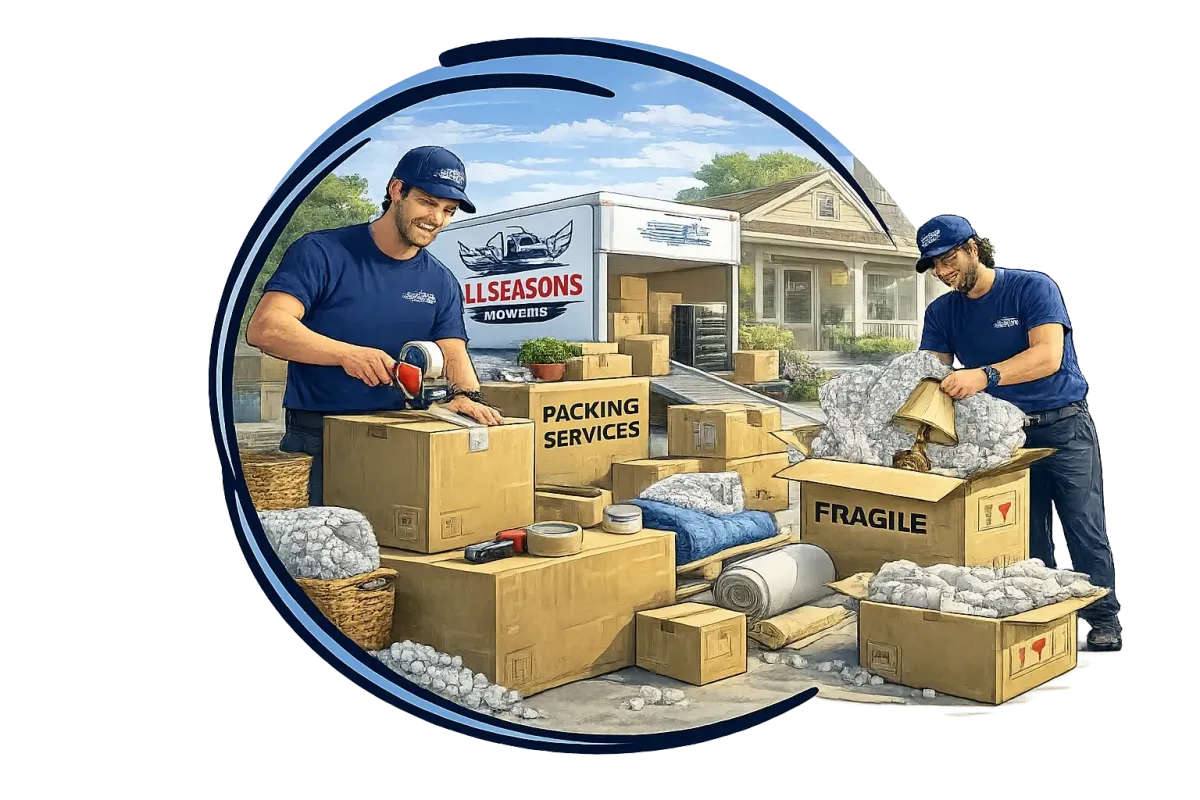
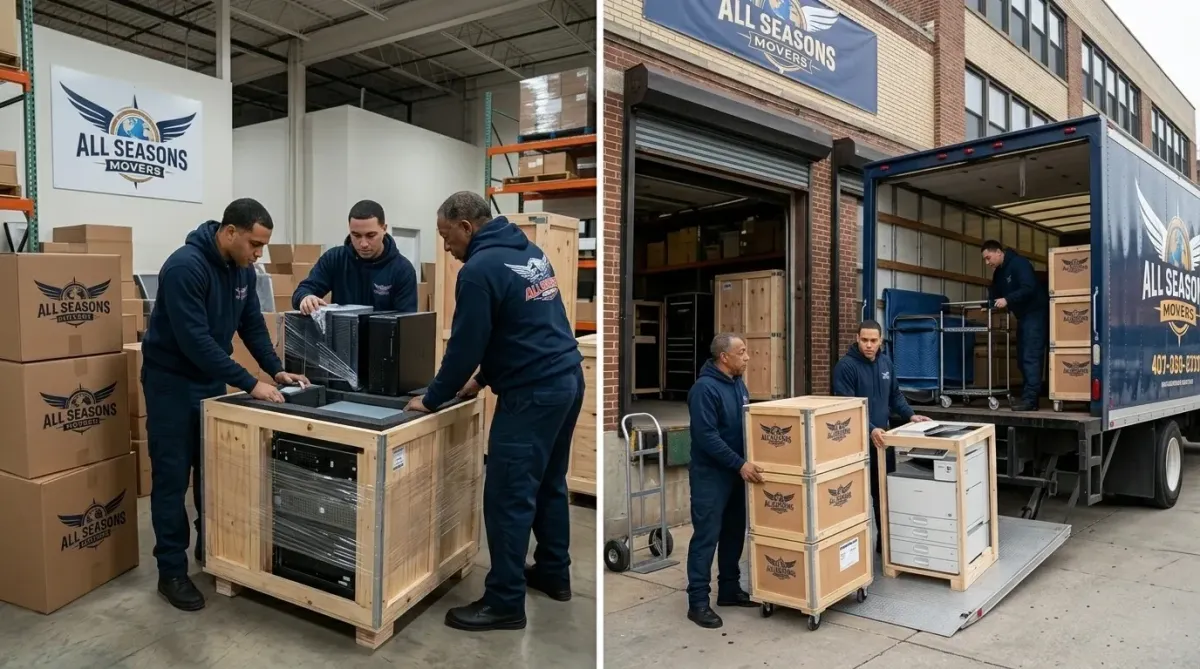
Professional chicago packing services have seen it all, packed it all, and know how to protect it all. They have industrial-grade materials, proper insurance, and the experience to pack your entire picture collection in the time it would take you to pack three frames.
The Real Cost Breakdown: DIY vs. Professional
Let's talk numbers for packing 15-20 framed pictures:
See the math? For collections of framed items, professional packing often costs LESS than DIY when you factor in materials and time. Plus, they're liable if something breaks.